

iMovie

User Interface: Intuitive drag-and-drop interface that makes editing straightforward.
Themes and Templates: Offers various pre-designed themes and templates to give your videos a professional look.
The iMovie user interface is designed to be intuitive and user-friendly, making it easy to navigate and edit videos. Here are some key components of the interface:
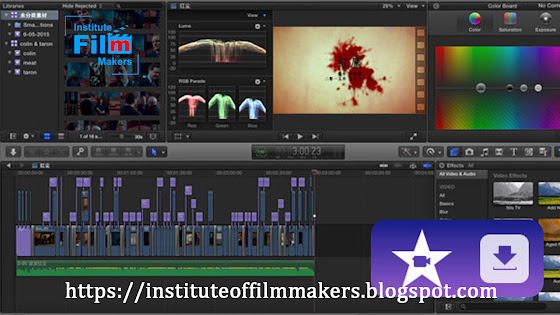
Media Library: Located on the left side, this is where you can access your video clips, audio files, and photos. You can import media directly from your device or external sources.
Timeline: The central part of the screen where you arrange your clips. You can drag and drop video and audio files here, trim clips, and add transitions.
Preview Window: On the upper right, this window allows you to preview your project. You can play, pause, and scrub through your timeline to see how your edits look.
Inspector: When you select a clip, the inspector (often located above the timeline) displays options for editing, including audio adjustments, color correction, and clip speed.
Transitions and Effects: Accessible from a sidebar or the toolbar, you can easily drag and drop transitions between clips, add text overlays, and apply filters.
Share Button: Typically found in the upper right corner, this button lets you export your finished video or share it directly to platforms like YouTube, Facebook, or via email.
Toolbar: Contains various tools for trimming, splitting clips, adding titles, and more.
The layout is designed to keep all necessary tools accessible while keeping the focus on your video editing work. If you need tips on how to use any specific feature, feel free to ask!
Video Effects: Includes a range of transitions, filters, and titles to enhance your footage.
Audio Editing: You can add music, sound effects, and voice overs, along with audio editing tools to adjust levels and effects.
High-Resolution Support: Supports 4K video editing, ensuring your projects look sharp and detailed.
Sharing Options: Easily share your videos directly to social media platforms or export them for other uses.
Integration with Apple Ecosystem: Seamless integration with other Apple apps and services, like Photos and iCloud.

0 Comments